Raspberry Pi 4 CrankShaft (Part 1)


Crankshaft is mentioned as a turnkey solution for the Raspberry Pi on their website and GitHub repo. The software is open sourced and a built image is directly available from https://getcrankshaft.com
This makes it a very quick way to check out the 1st option.
Head over to the GitHub release page and simply download the latest image ZIP file. It should be around 700Mb and about 3Gb unzipped.
Using the Raspberry Pi Imager, select the unzipped IMG file under "Use custom" and your Micro SD card, and write the image to the Micro SD card.

Using the setup from my previous post, pop the Micro SD card into the Pi and give it some power.
1st boot should resize the partition to the full size, and reboot automatically.
2nd boot should build some modules, and reboot again.
3rd boot should be the one that works.

If you are using the 5" screen from my previous post, the layout will be wrong and the touch screen alignment will be challenging, so lets fix that 1st.
Please Note: The CrankShaft Pi4 image mounts the boot and system partitions in read-only mode.
ssh pi@pi4
crankshaft filesystem system unlock
passwd
Now add the 5" screen settings to the boot config file:
crankshaft filesystem boot unlock
crankshaft filesystem boot unlock
sudo bash -c 'cat << EOF >> /boot/config.txt
# 5" HDMI Screen Setup
hdmi_group=2
hdmi_mode=87
hdmi_cvt 800 480 60 6 0 0 0
hdmi_drive=1
hdmi_force_hotplug=1
# 5" HDMI Screen Setup
hdmi_group=2
hdmi_mode=87
hdmi_cvt 800 480 60 6 0 0 0
hdmi_drive=1
hdmi_force_hotplug=1
hdmi_force_edid_audio=1
EOF'
sudo reboot
The screen should be all good now and the buttons should do something.
EOF'
sudo reboot
The screen should be all good now and the buttons should do something.
Please Note: I'm not 100% sure on how to make the build in speaker work, but have found that setting the "Output backend" to "RT audio" and increase the "Playback Volume" slider, the LCD speaker starts working. The only way to make this stick was to issue a "crankshaft settings save" in SSH.

Now connect your Android Auto enabled phone to one of the USB ports on the Pi and you should have Android Auto!
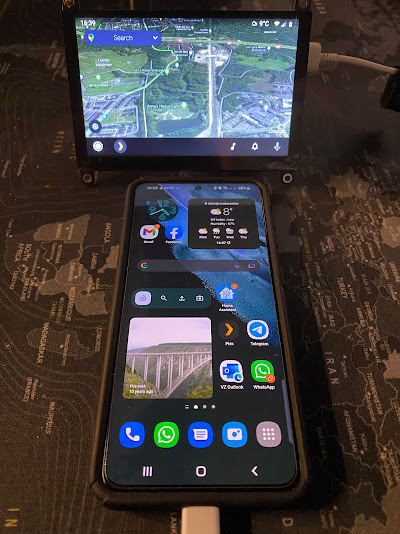
It will probably start directly into Google Maps, however you can access other Android Auto apps from the button left bottom.
Now this is not perfect, but it a very good start.
Enjoy!

